Mood Lamp
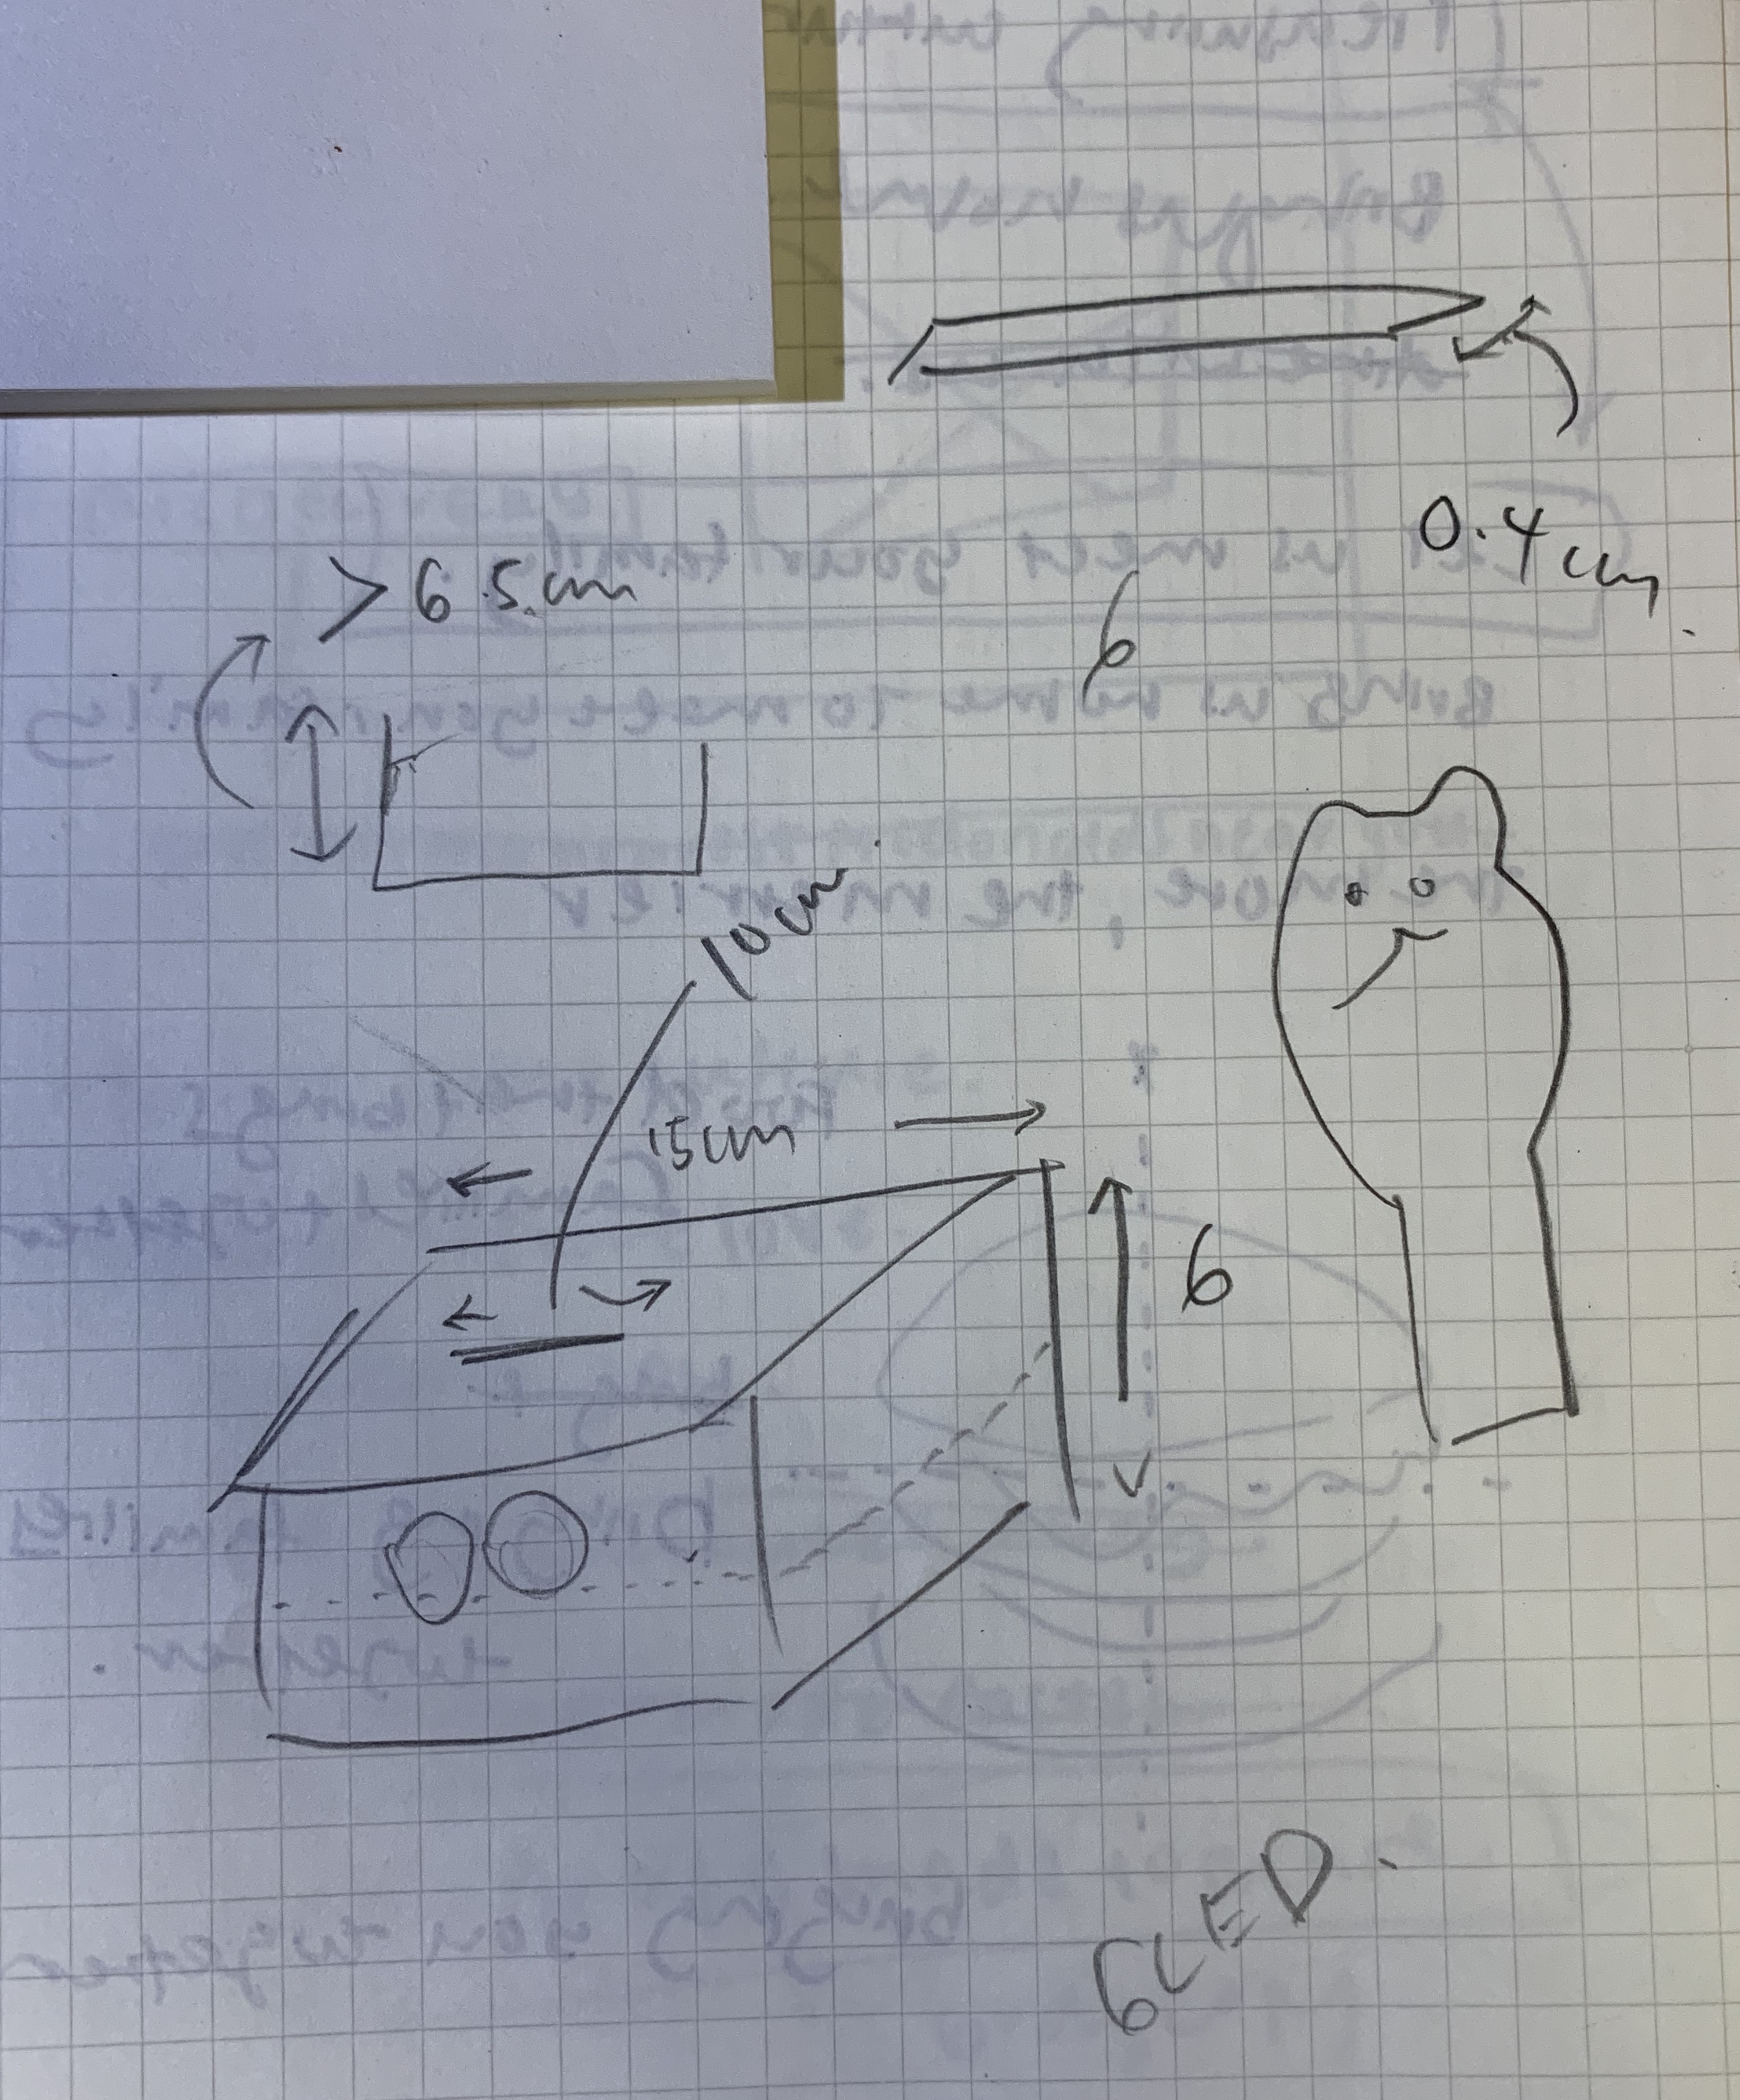
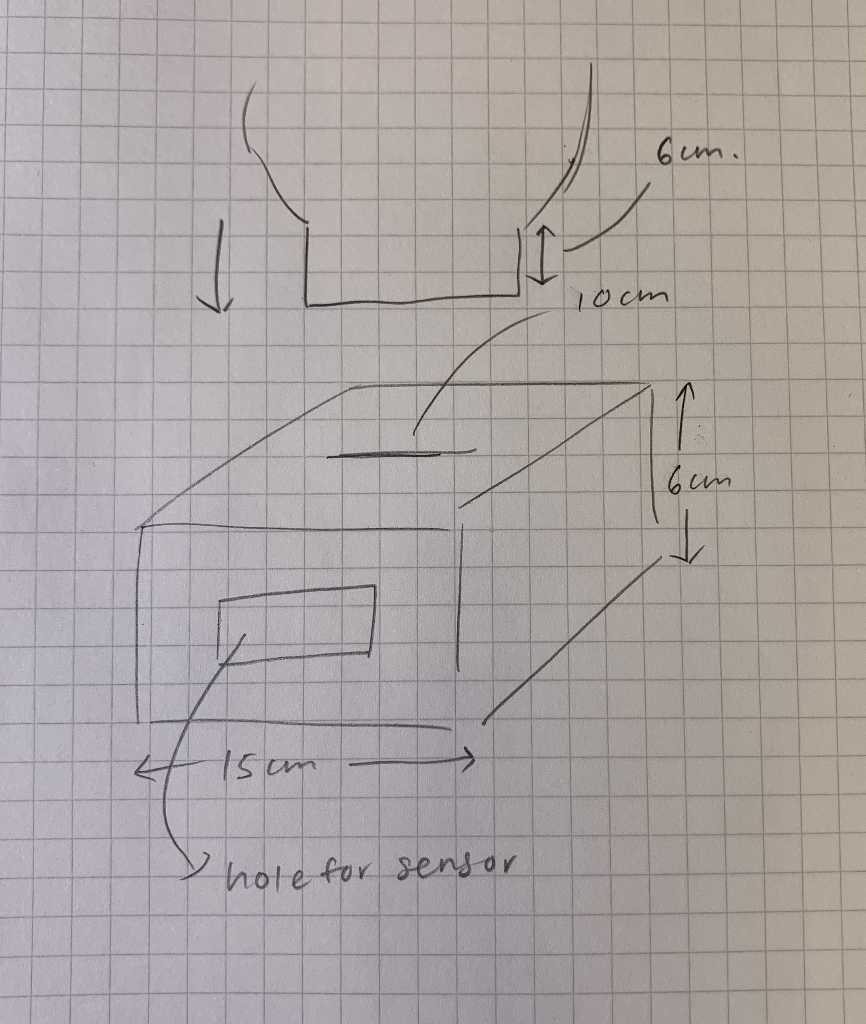
I obtained the idea for this project from the list of suggestions given to us as I am not someone who has a background in coding. Enchancing the existing idea, I decided to make the box be able to detect motion - changing colours when nearing OR turning on when nearing. The mood lamp will use 6 LEDs and will have a seperate box to house the motion sensor.
 |
|
 |
|
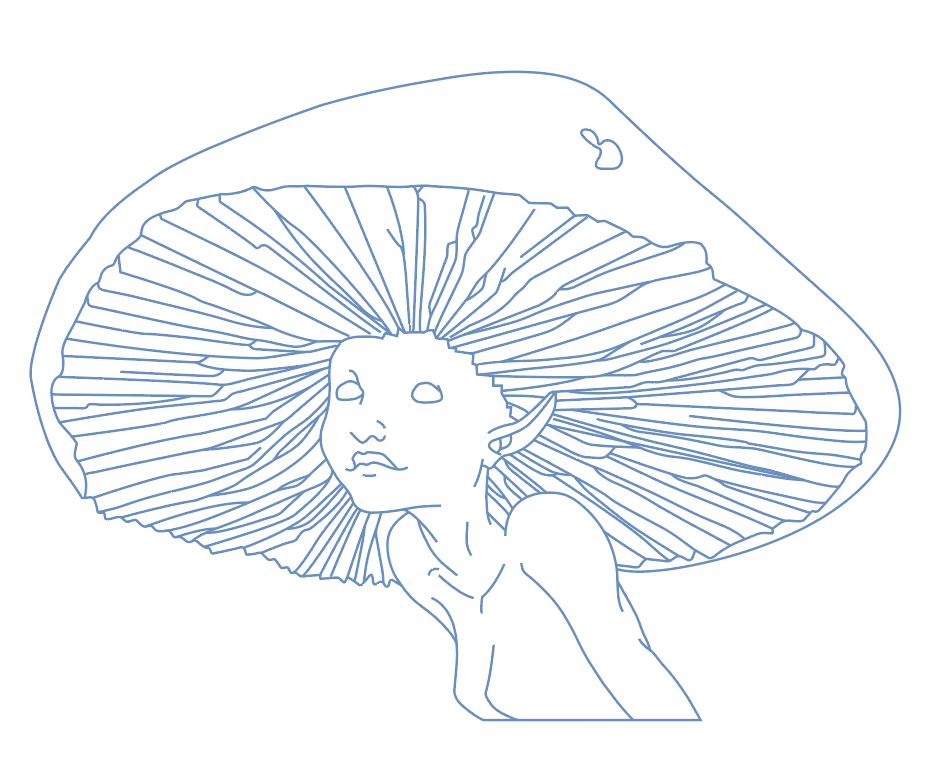
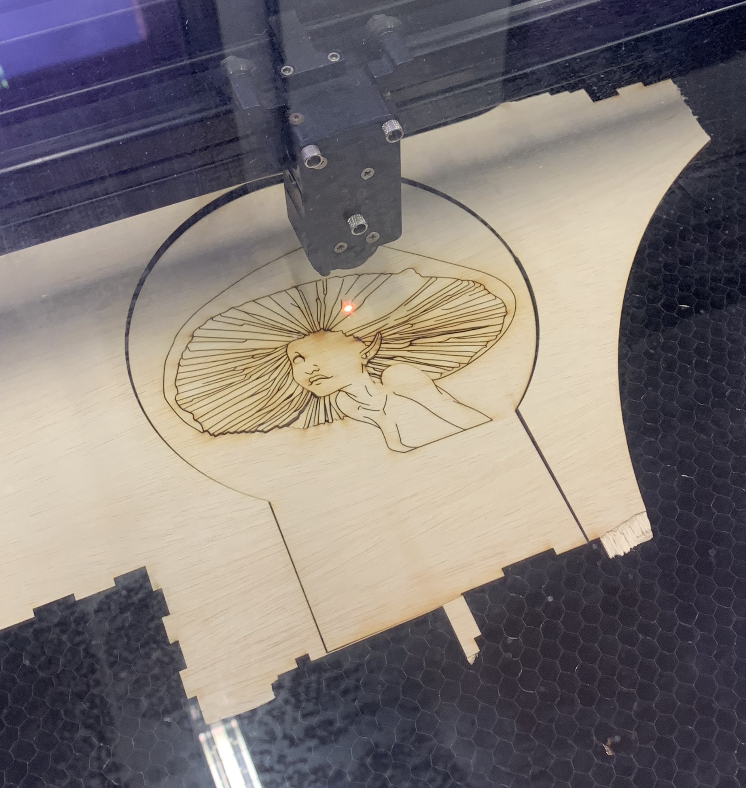
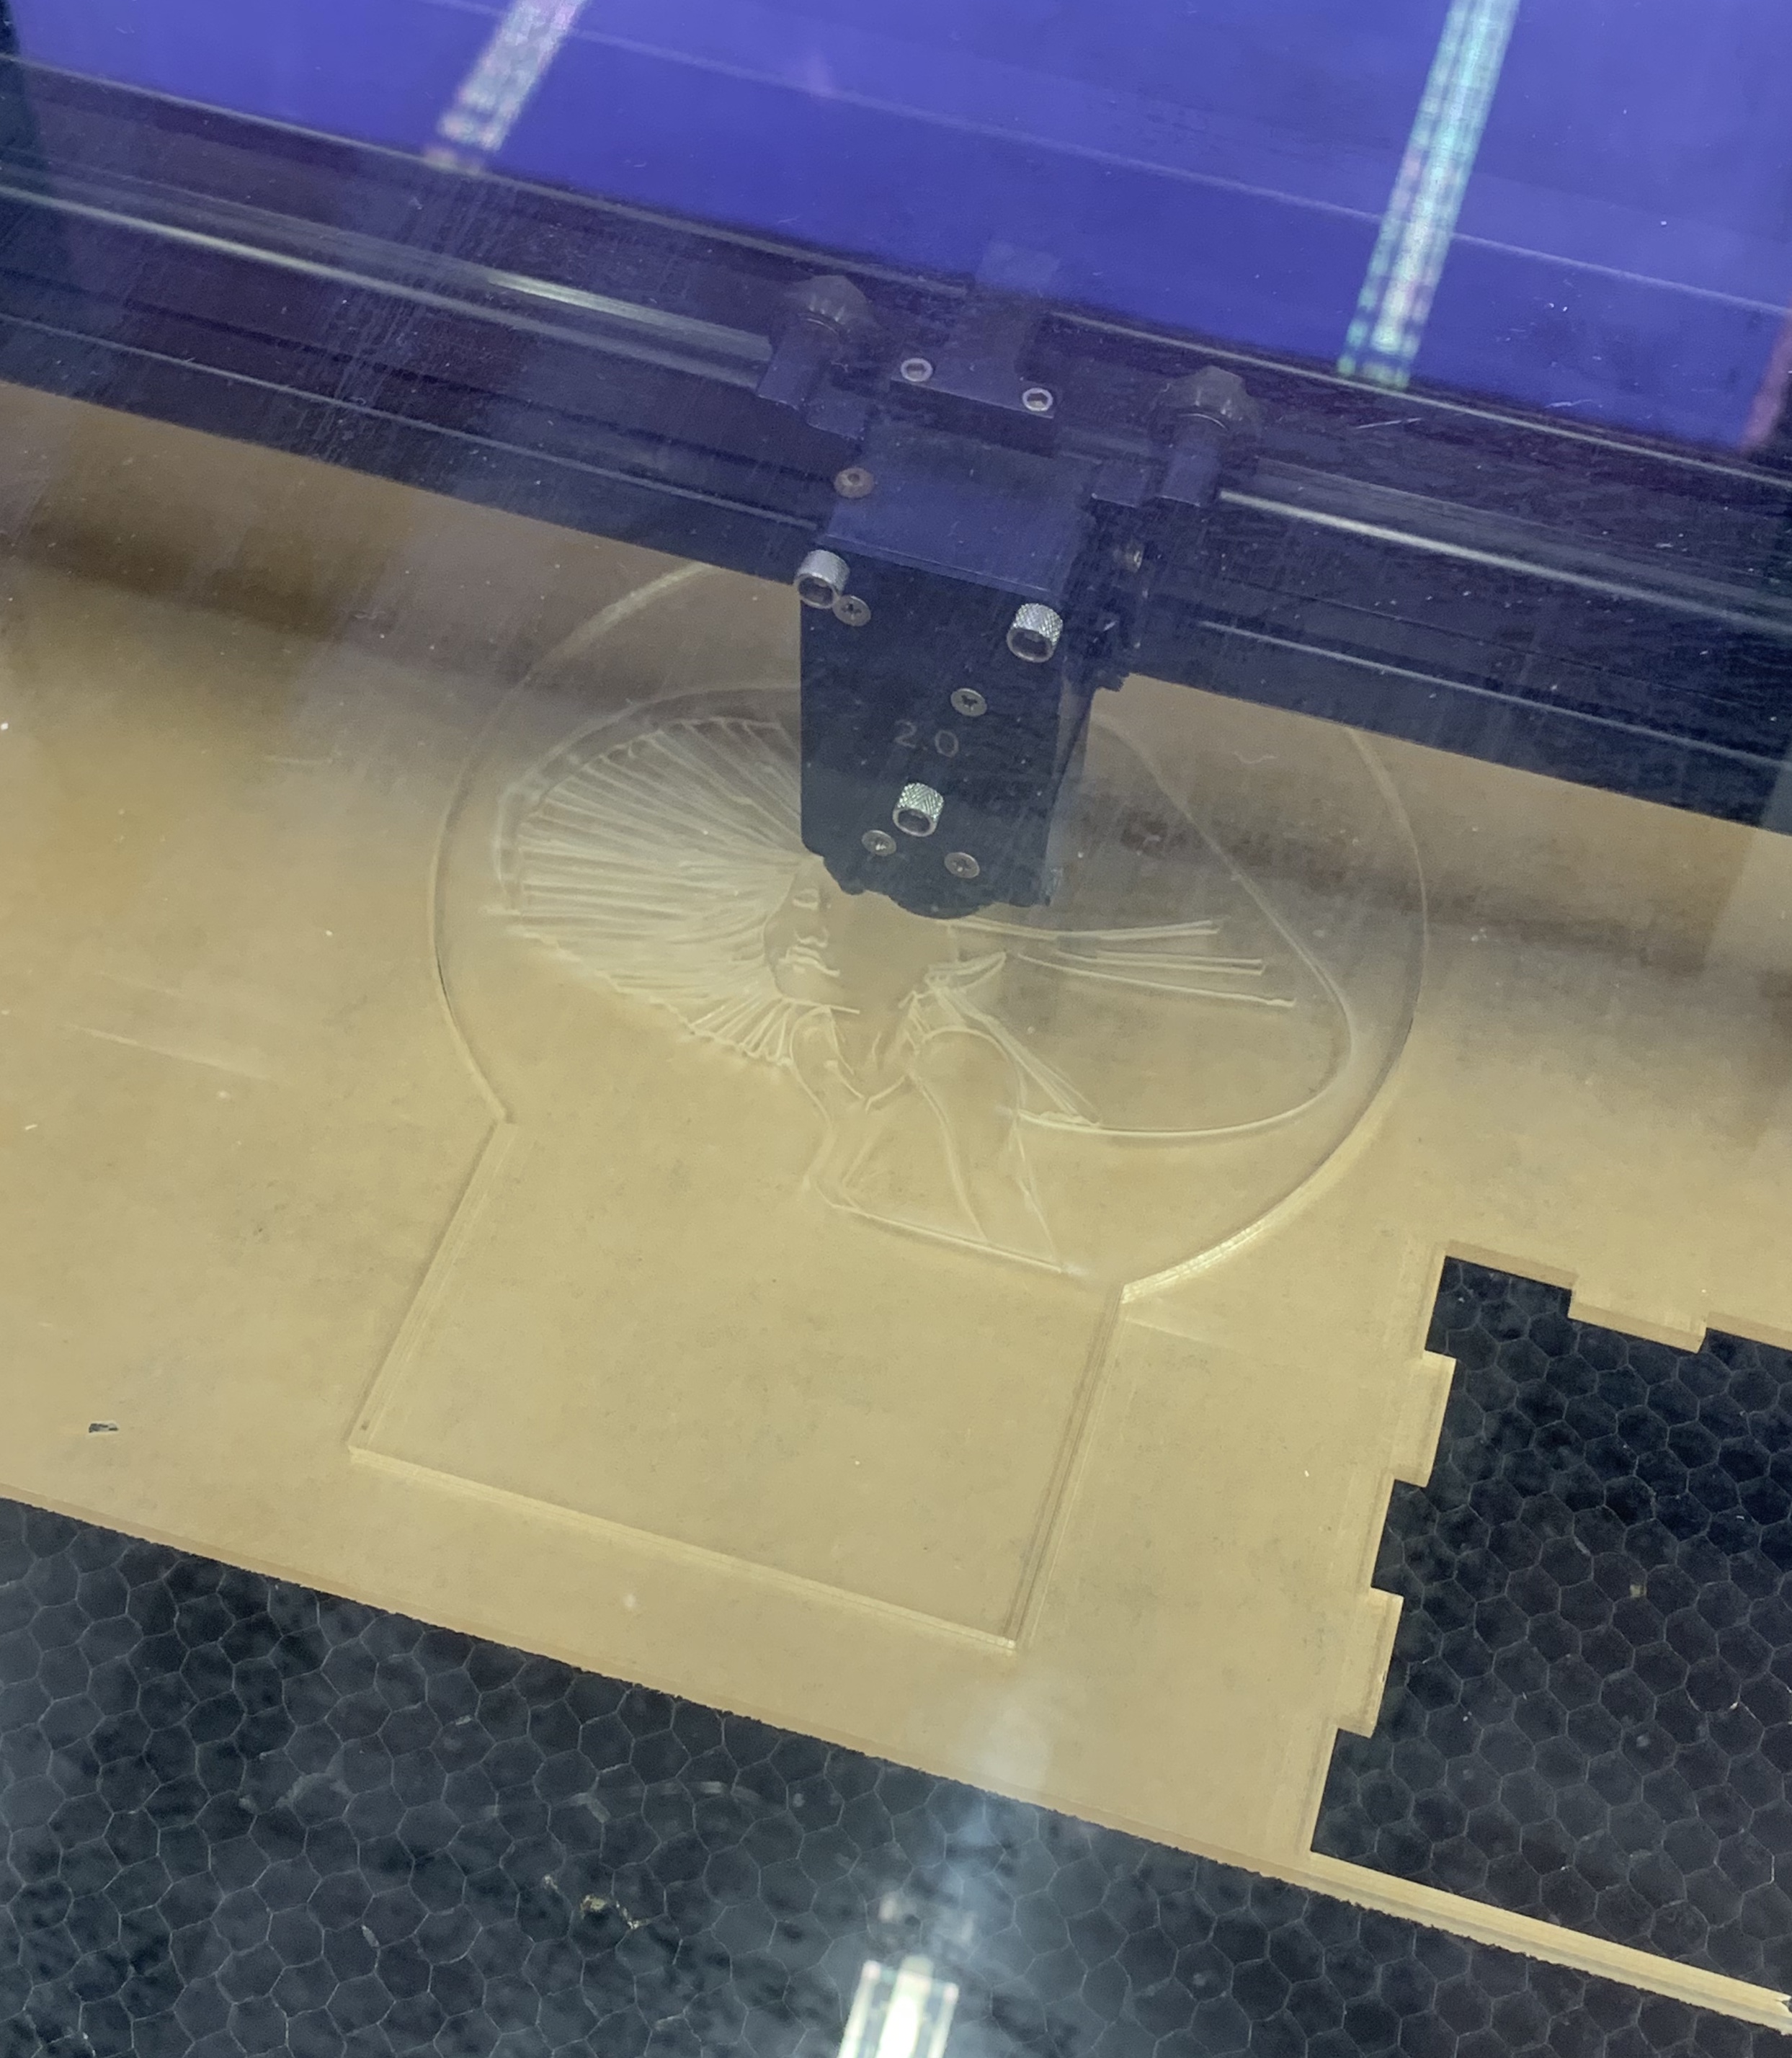
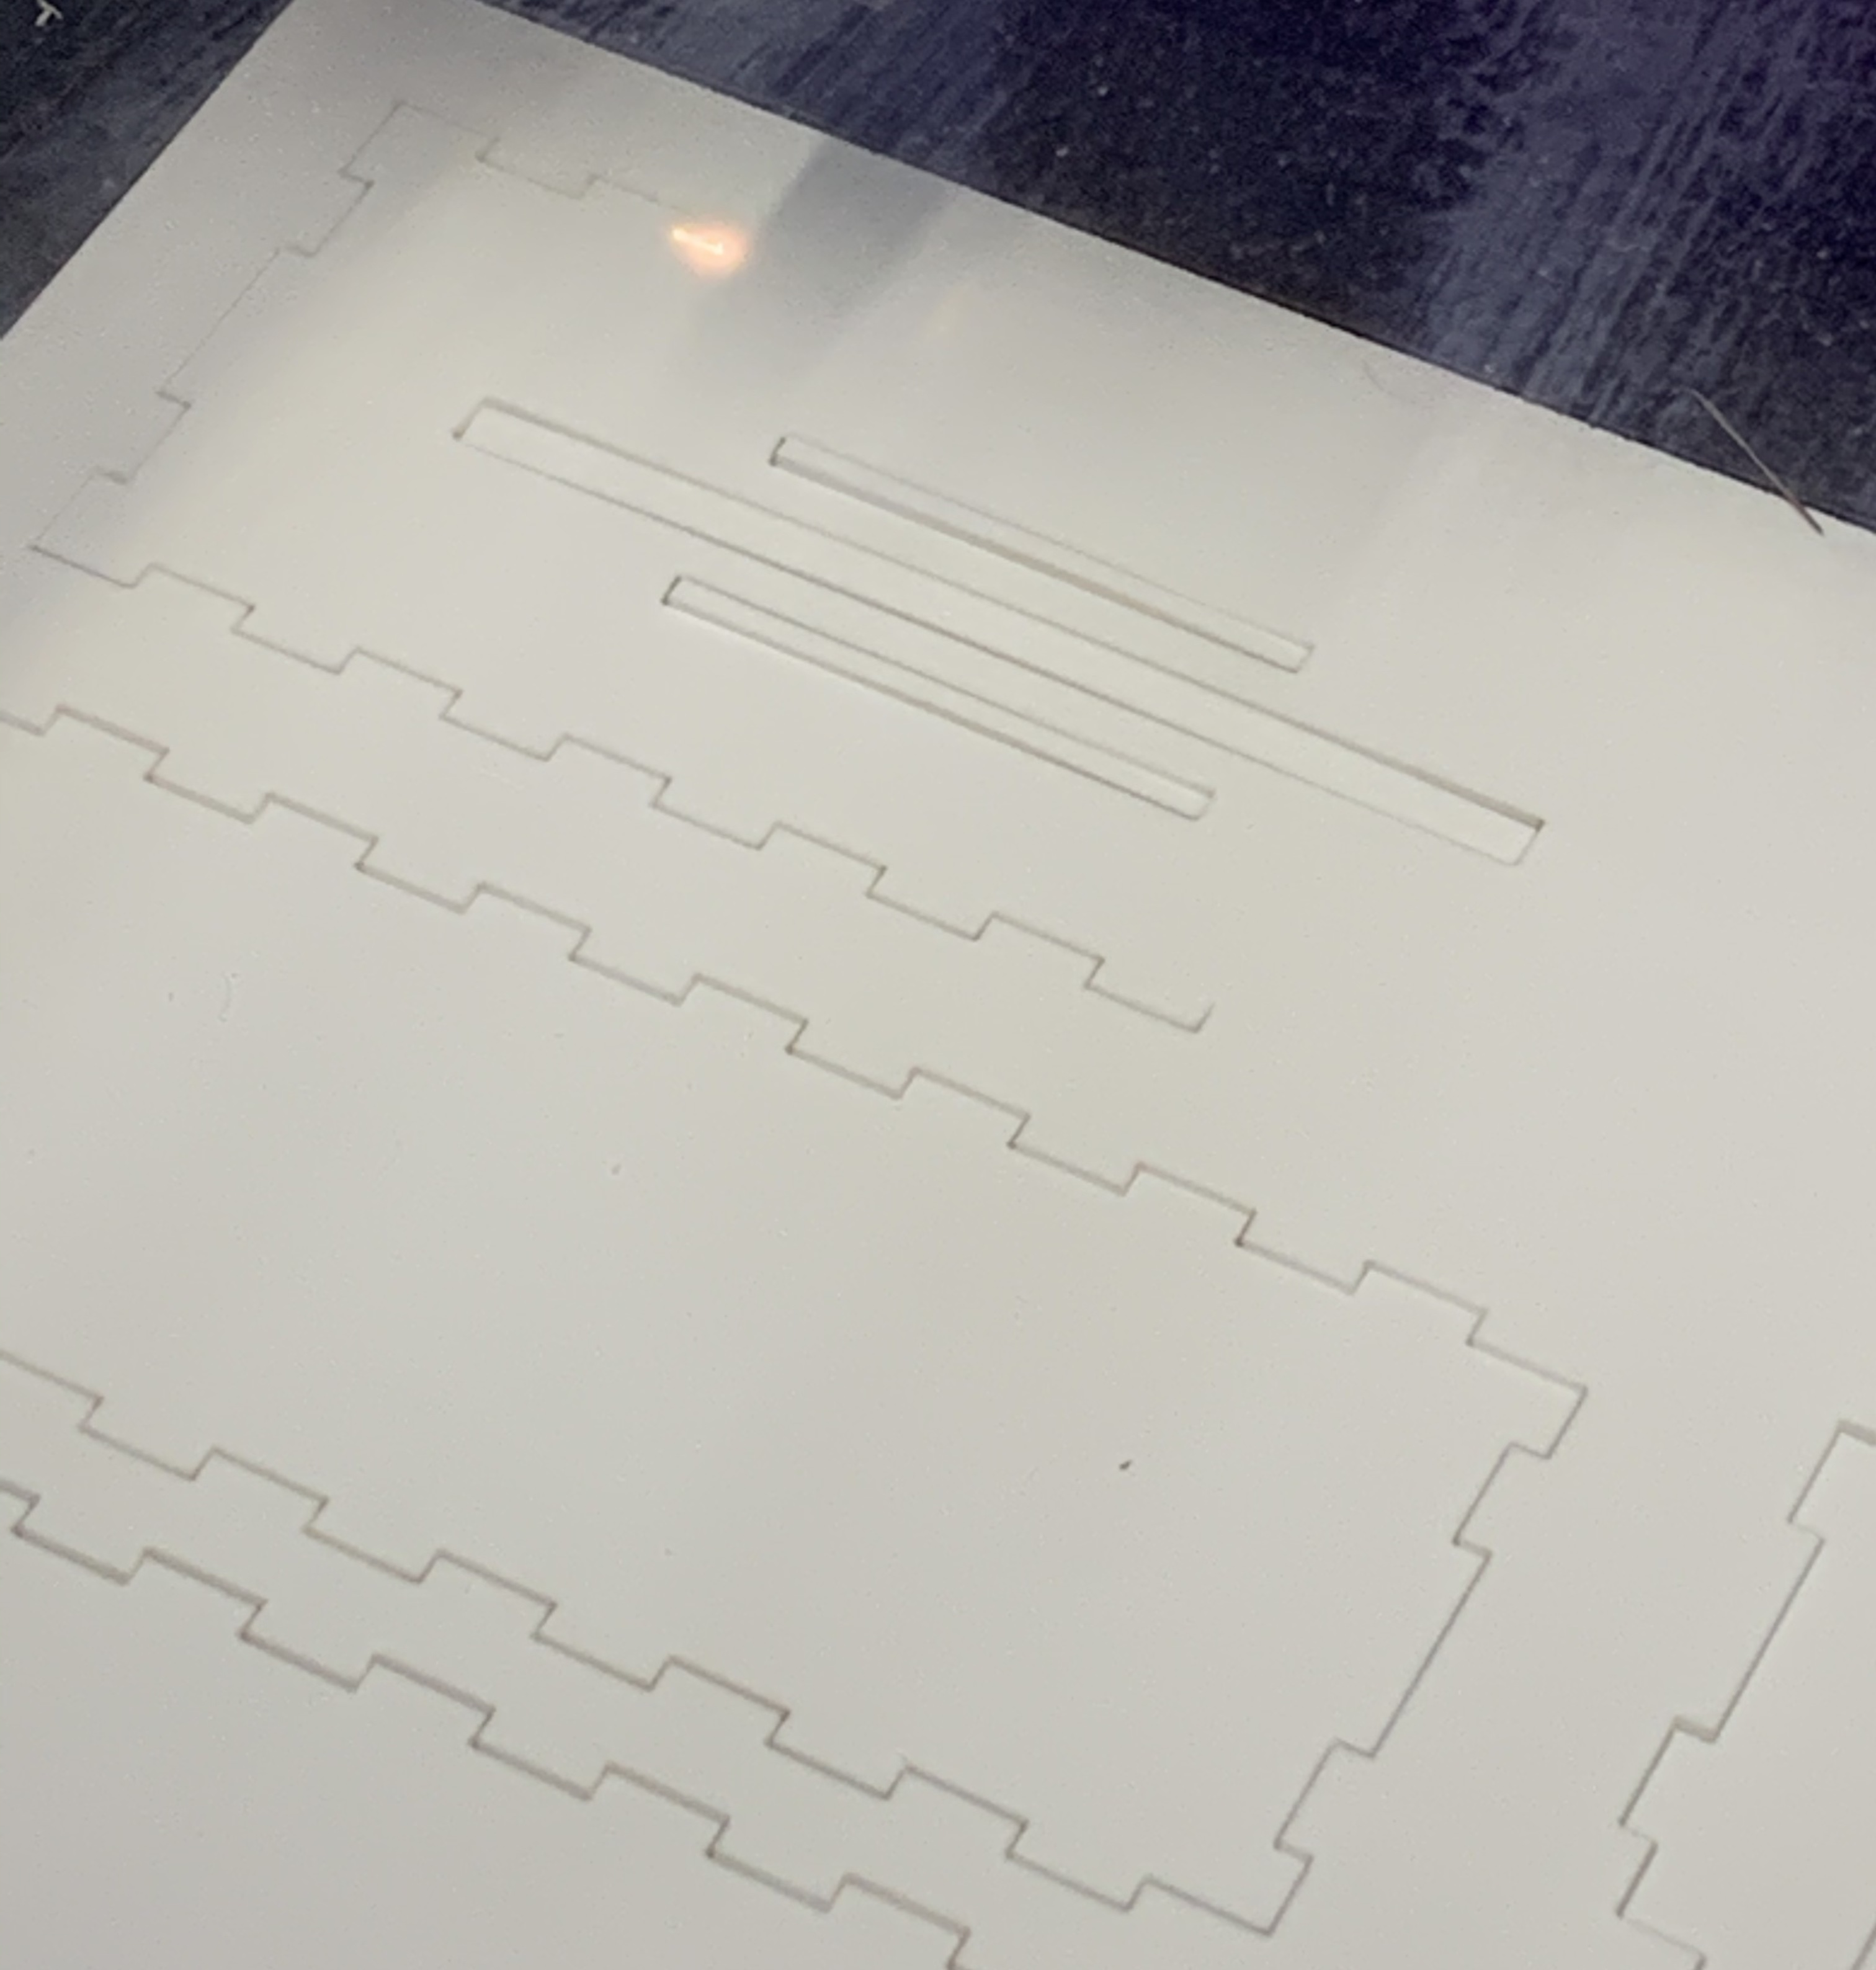
Over the weekend, I illustrated a lady with a mushroom over her head using adobe illustrator.
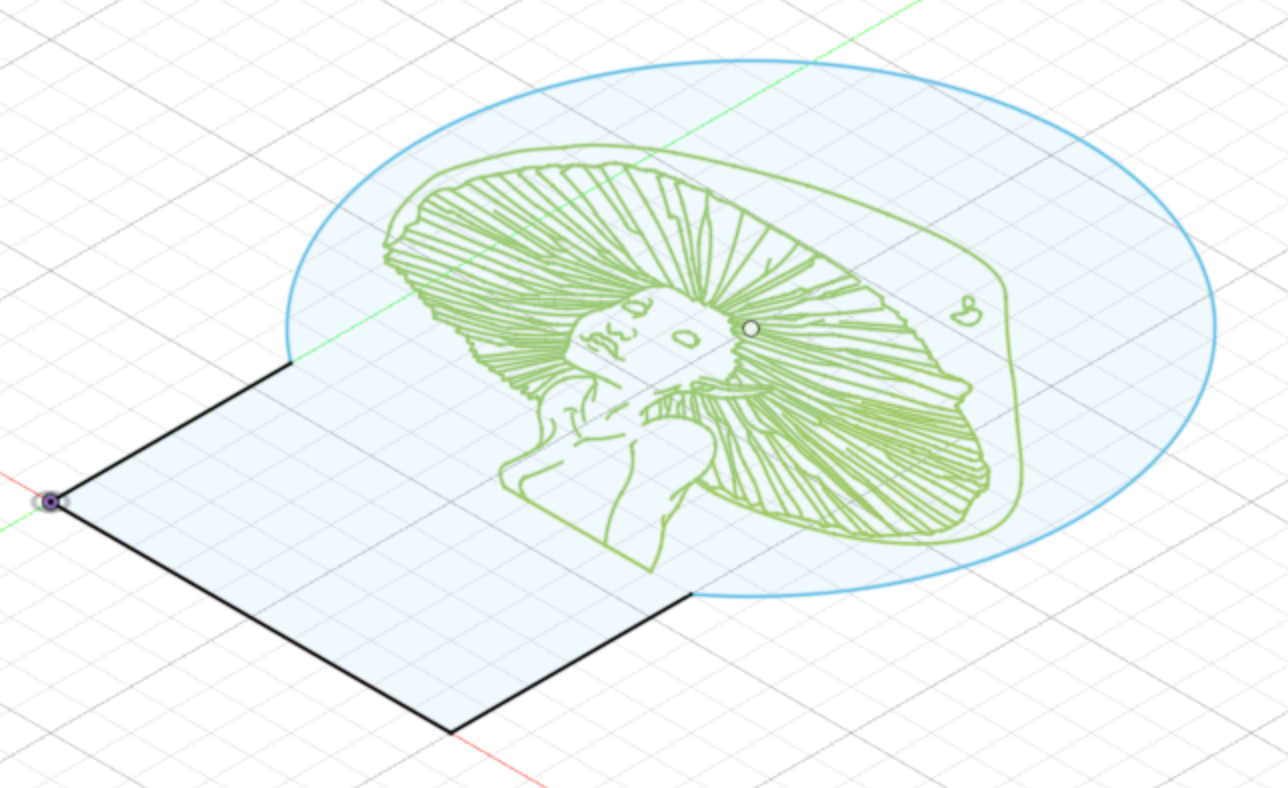
Saving it as an SVG file, I then imported it into fusion to complete before saving it as a DXF file for cutting.
Reference: https://www.pinterest.com/pin/560346378643899875/
 |
|
Week 2
 |
|
 |
 |
 |
 |
Week 3
 |
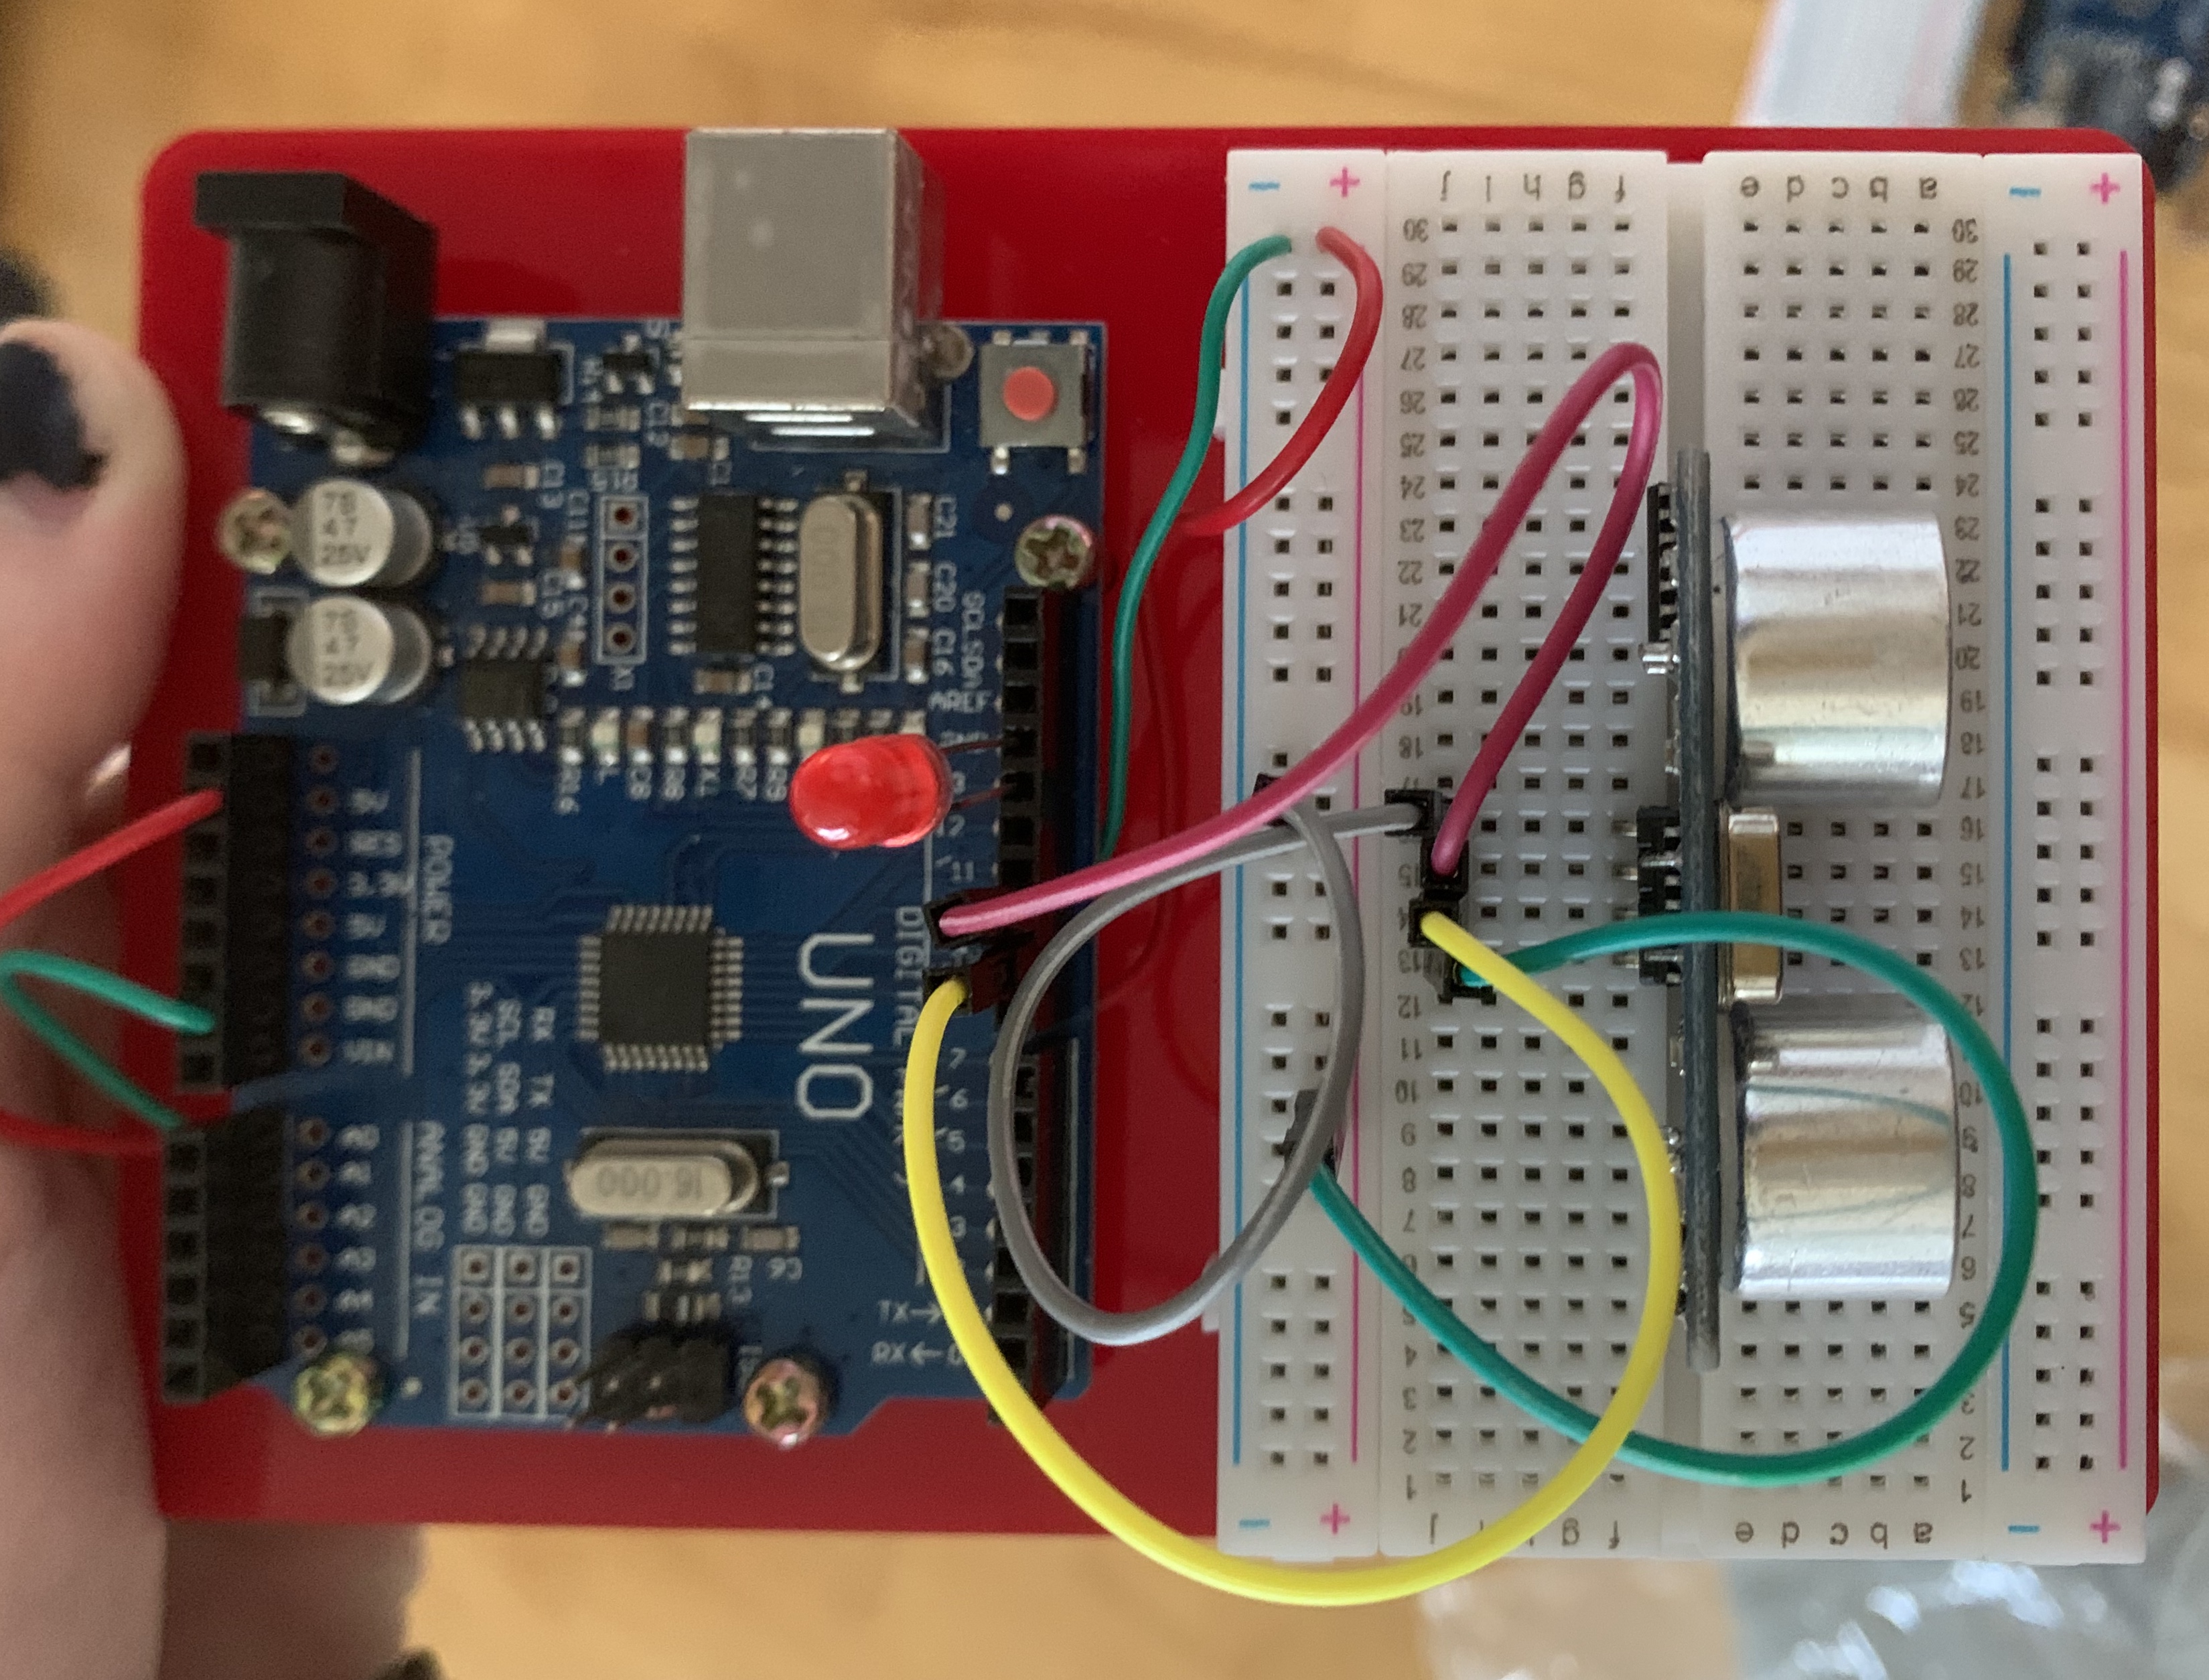
This is a draft for the code for the motion sensor using only 1 LED.
 |
 |
 |
 |
 |
|
 |
 |
|
 |
|
After updating the safety distance of the code and adding the 6 LEDs, this is my final code:
#include
#ifdef _AVR_
#include // Required for 16 MHz Adafruit Trinket
#endif
#define PIN 13
#define NUMPIXELS 6 // Popular NeoPixel ring size
Adafruit_NeoPixel pixels(NUMPIXELS, PIN, NEO_GRB + NEO_KHZ800);
const int trigPin = 9;
const int echoPin = 10;
// defines variables
long duration;
int distance;
int safetyDistance;
void setup() {
pinMode(trigPin, OUTPUT); // Sets the trigPin as an Output
pinMode(echoPin, INPUT); // Sets the echoPin as an Input
Serial.begin(9600); // Starts the serial communication
pixels.begin();
}
void loop() {
// Clears the trigPin
digitalWrite(trigPin, LOW);
delayMicroseconds(2);
// Sets the trigPin on HIGH state for 10 micro seconds
digitalWrite(trigPin, HIGH);
delayMicroseconds(10);
digitalWrite(trigPin, LOW);
// Reads the echoPin, returns the sound wave travel time in microseconds
duration = pulseIn(echoPin, HIGH);
// Calculating the distance
distance= duration*0.034/2;
safetyDistance = distance;
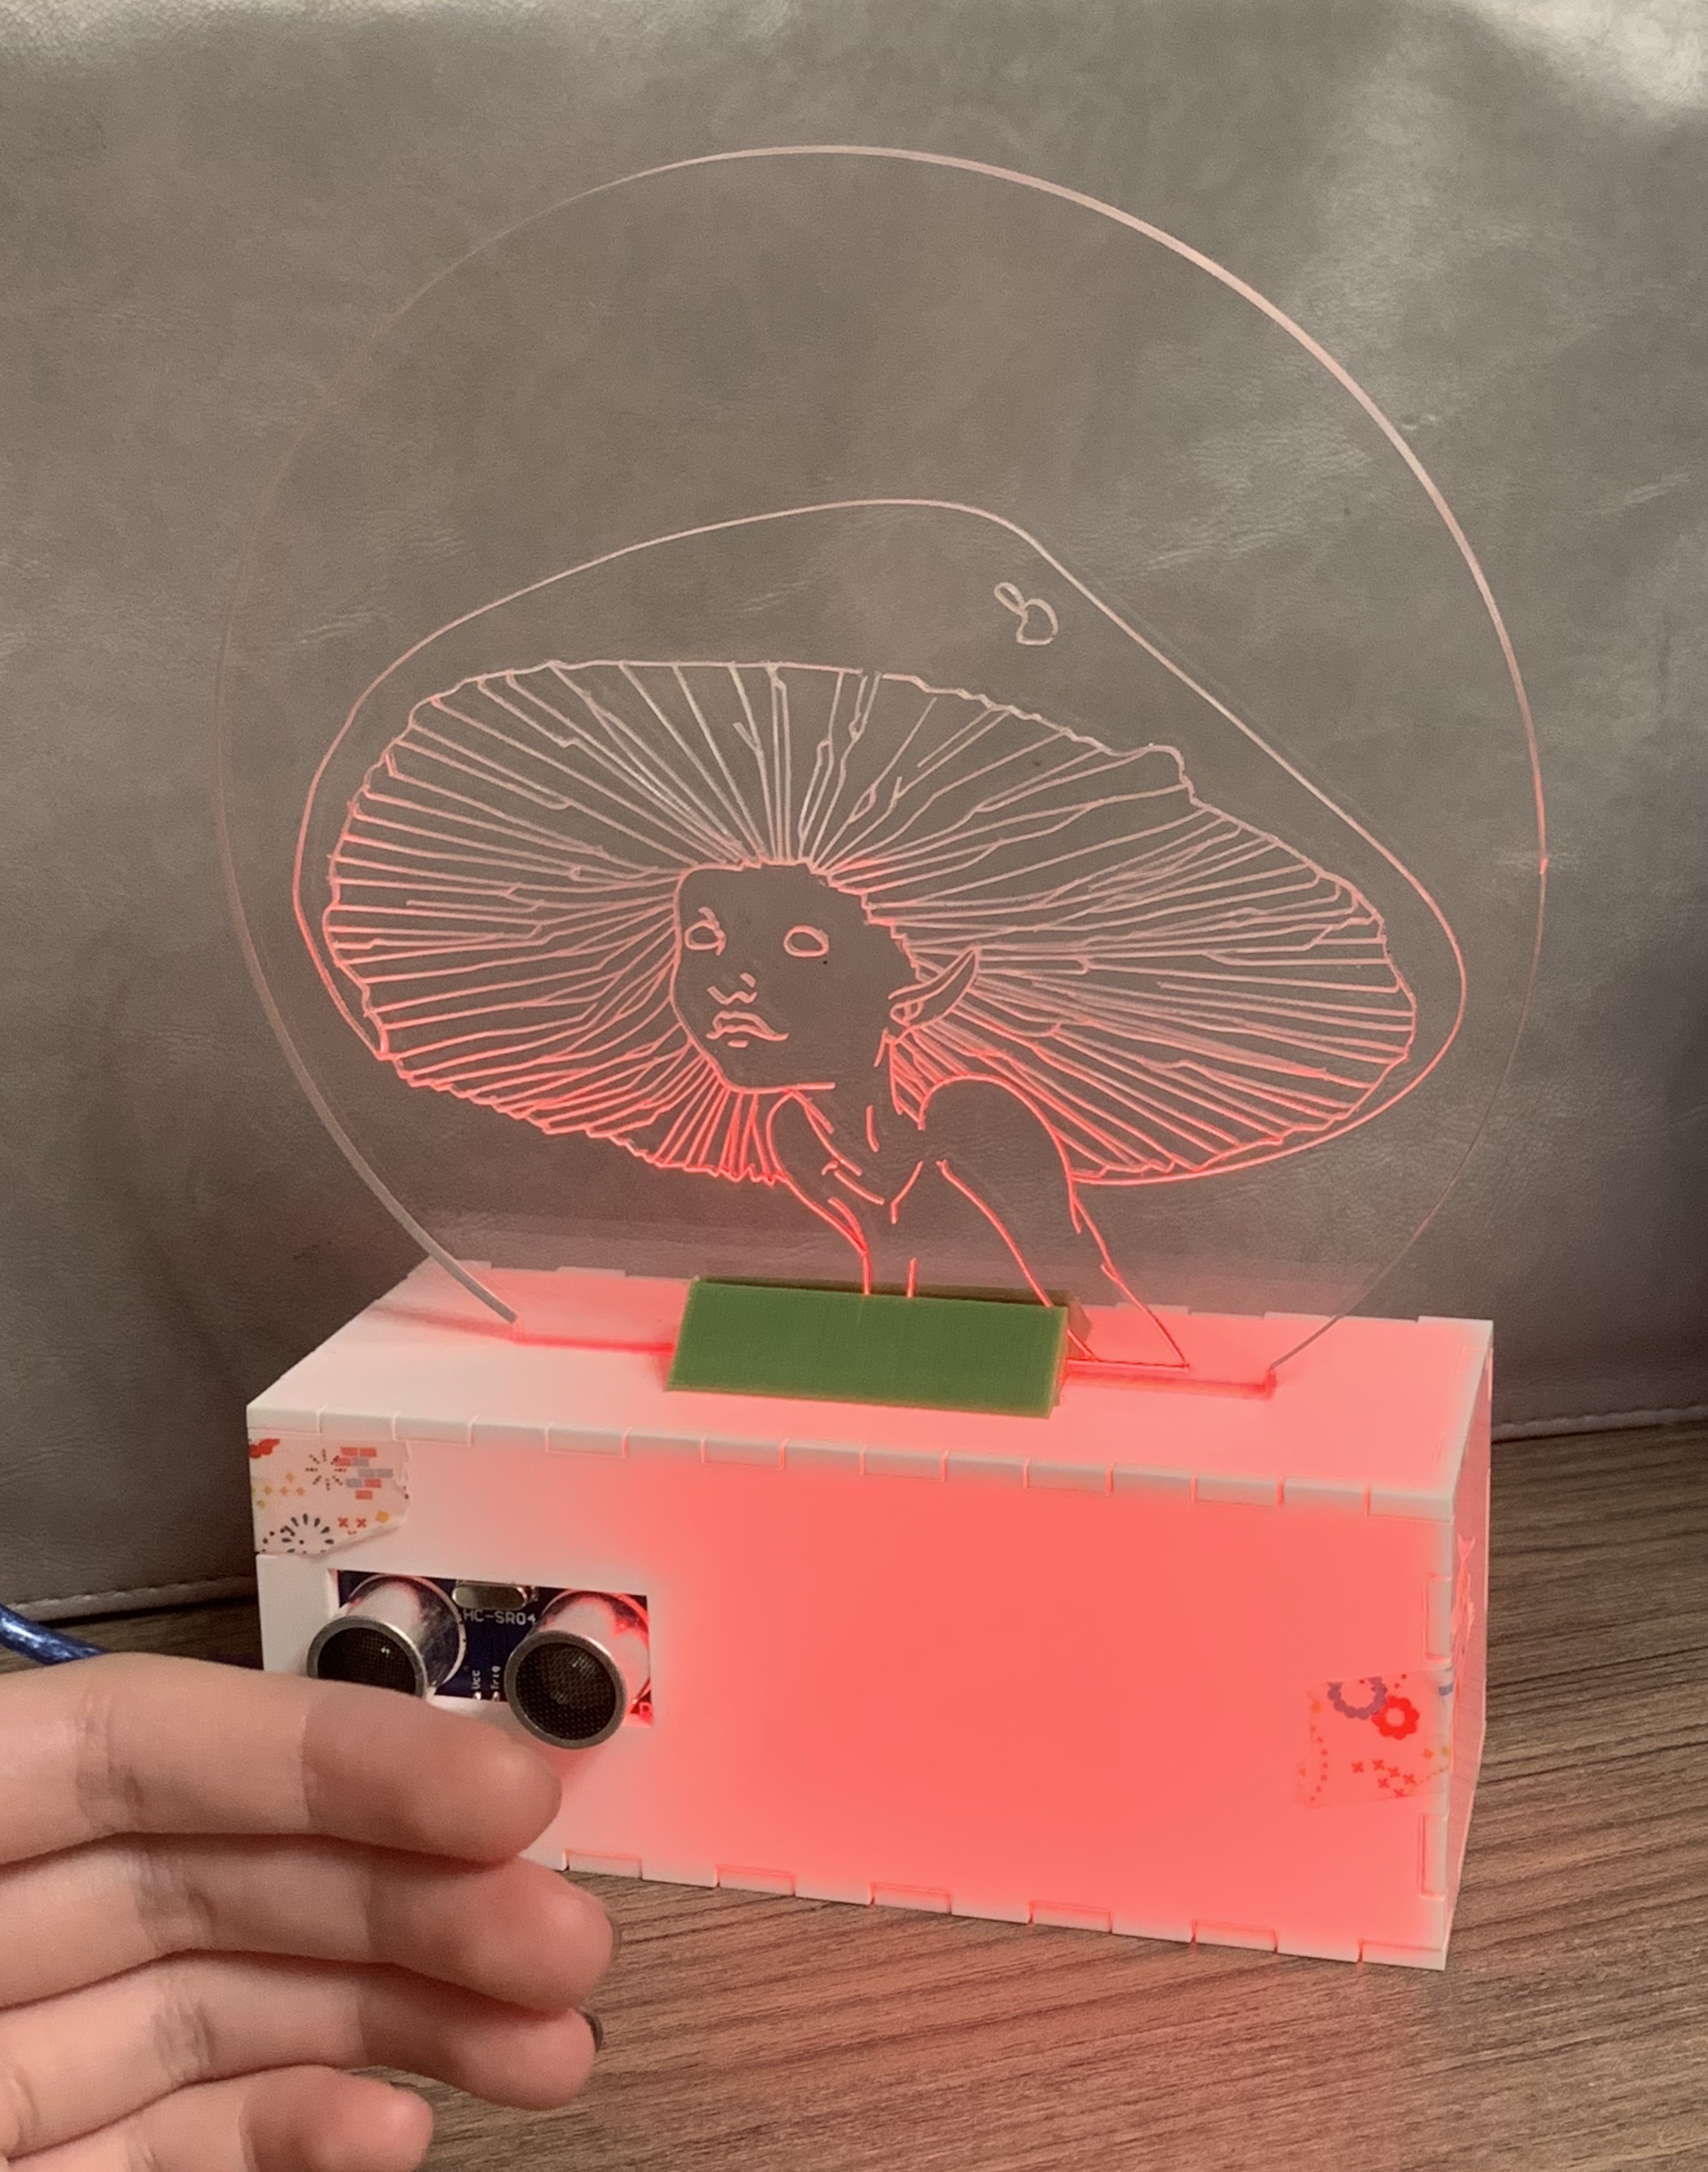
if (safetyDistance <= 20){
uint32_t red= pixels.Color(255, 0, 0);
pixels.fill(red, 0);
pixels.show();
}
else{
uint32_t magenta = pixels.Color(255, 0, 255);
pixels.fill(magenta, 0);
pixels.show();
}
}
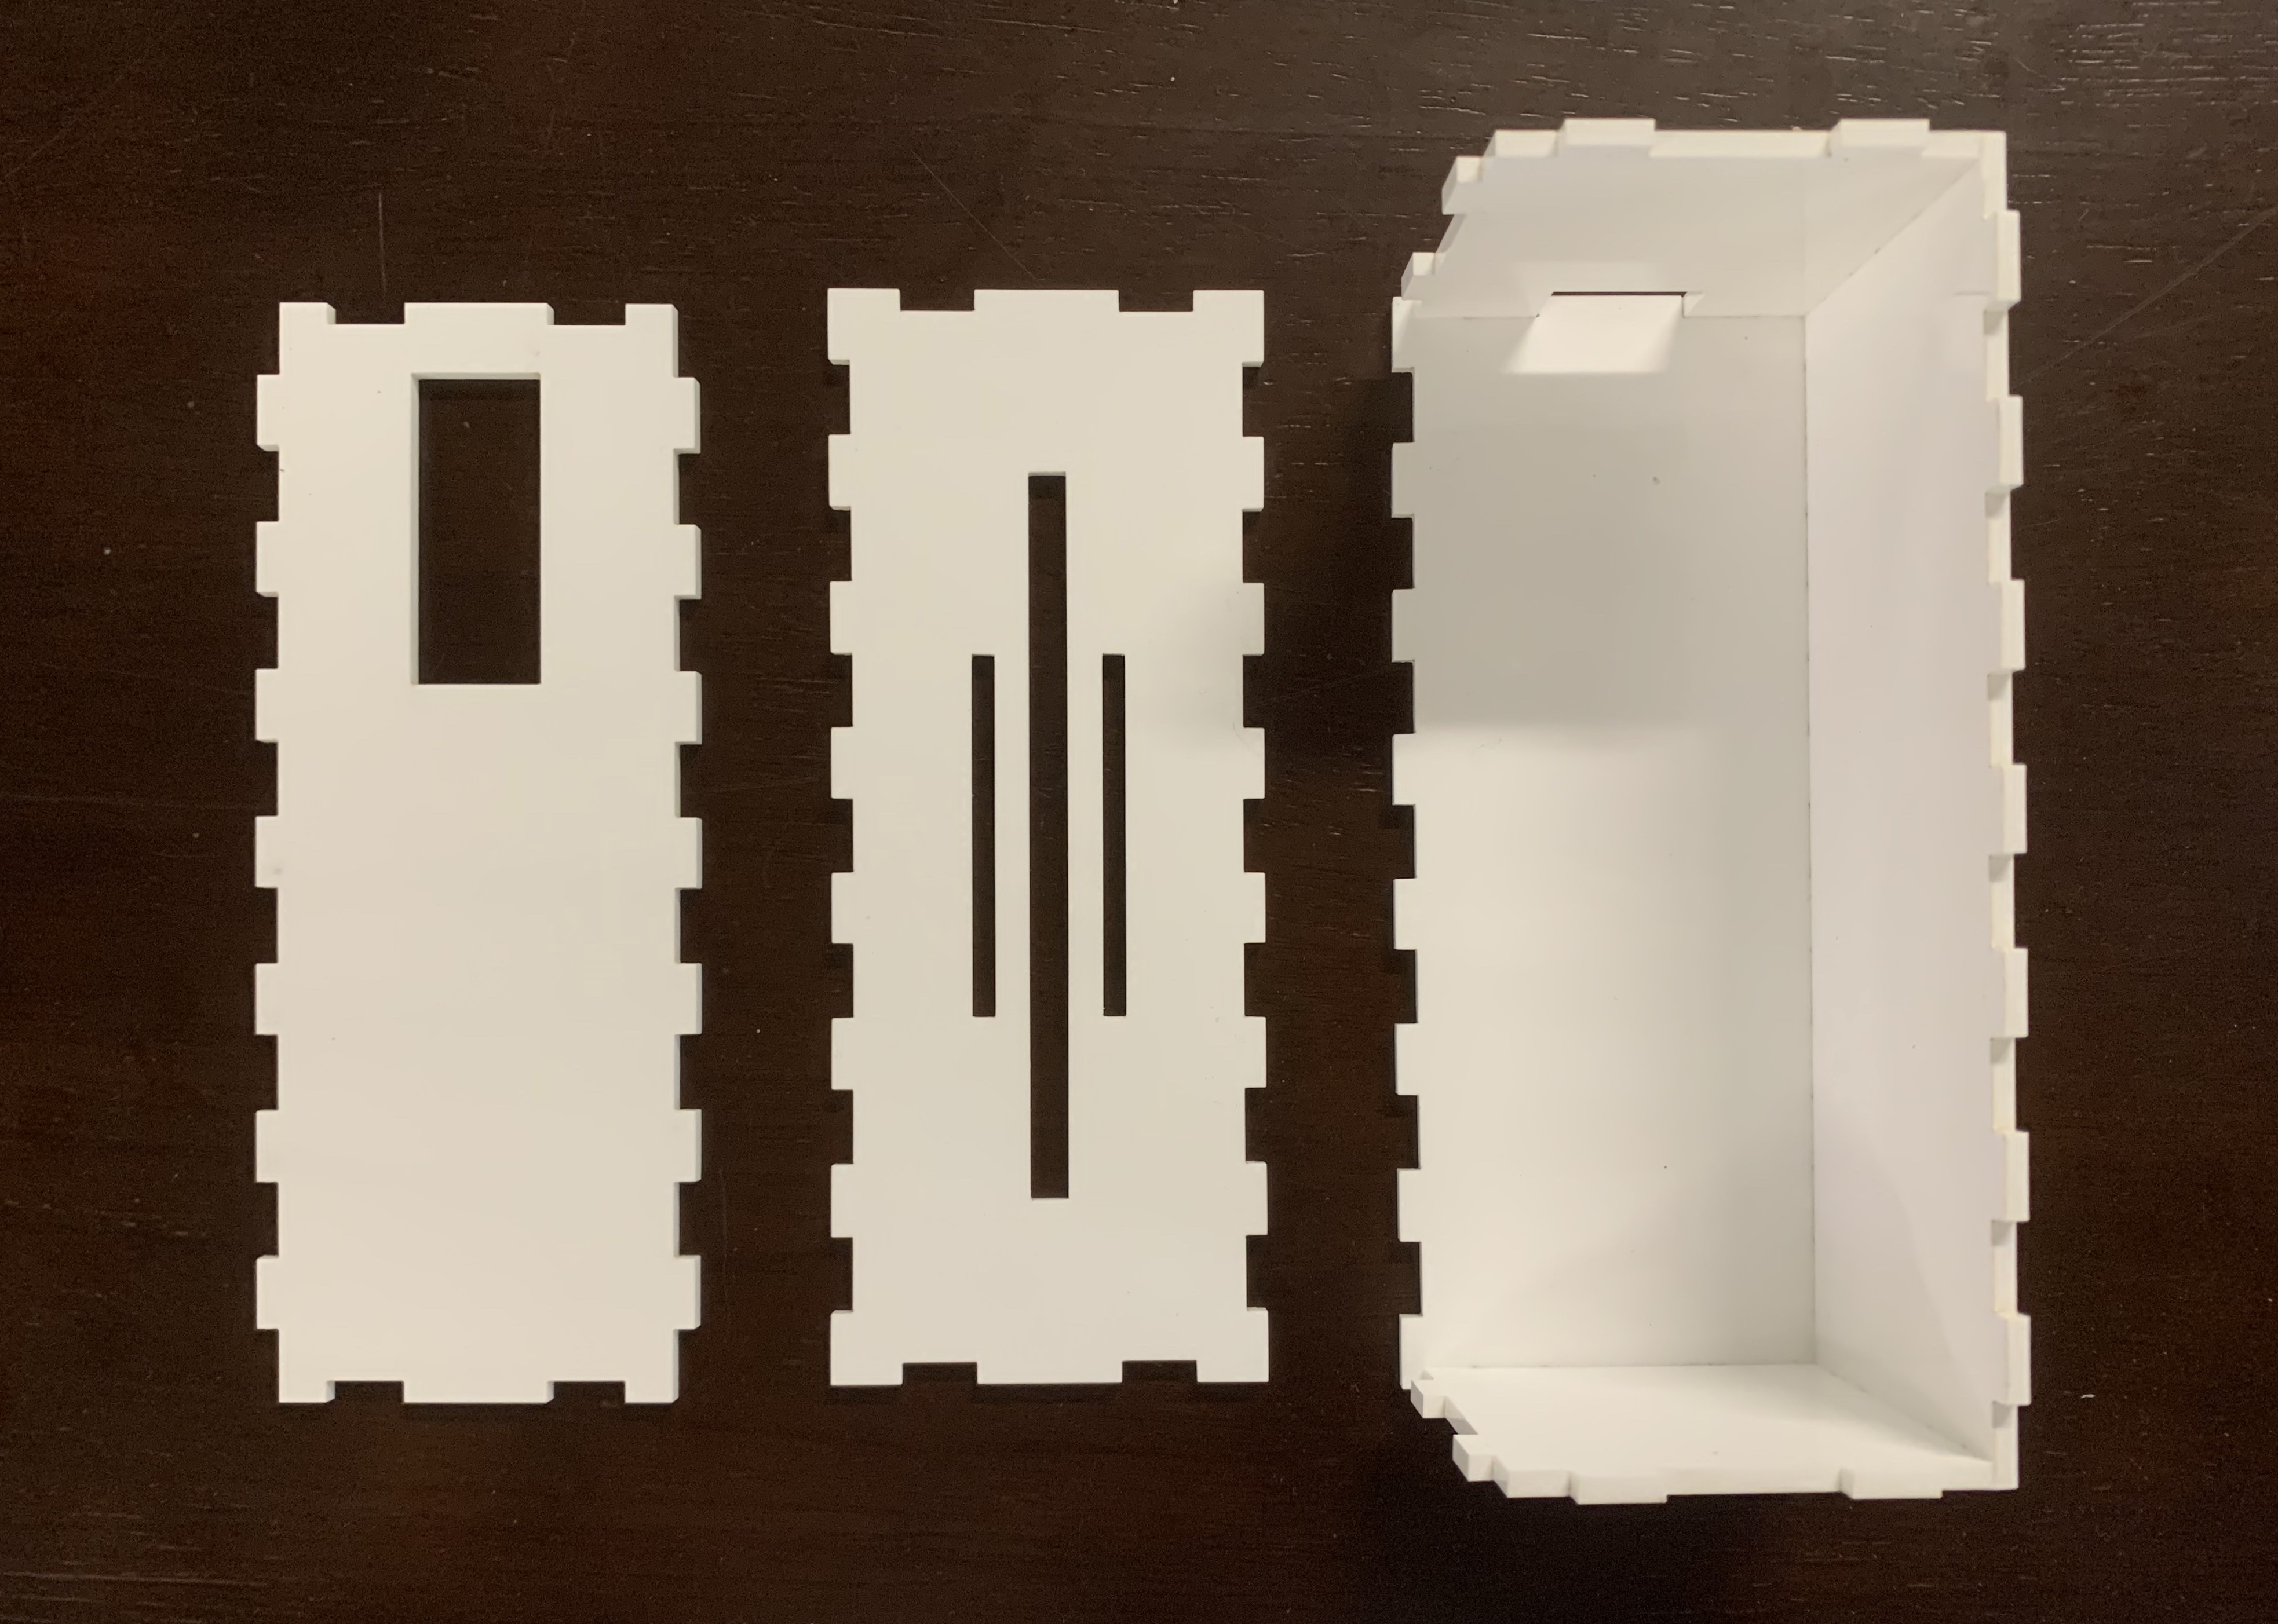
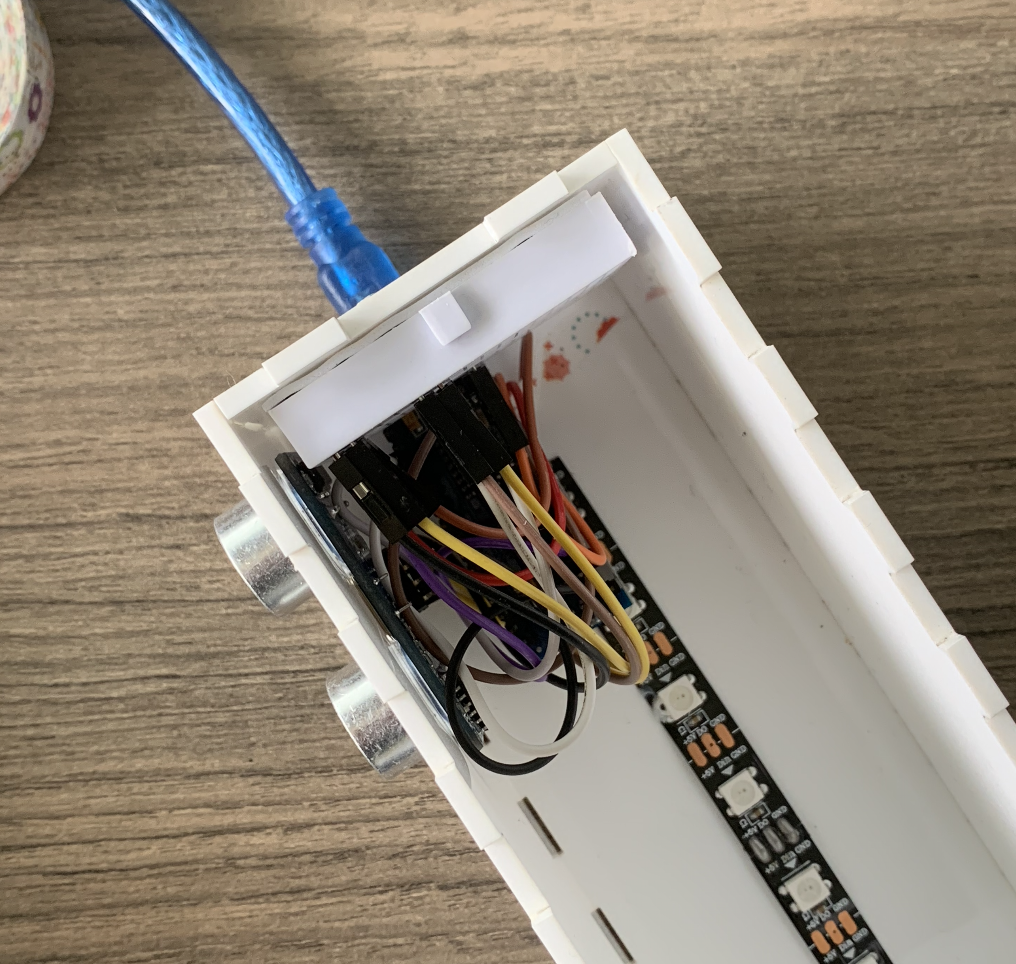
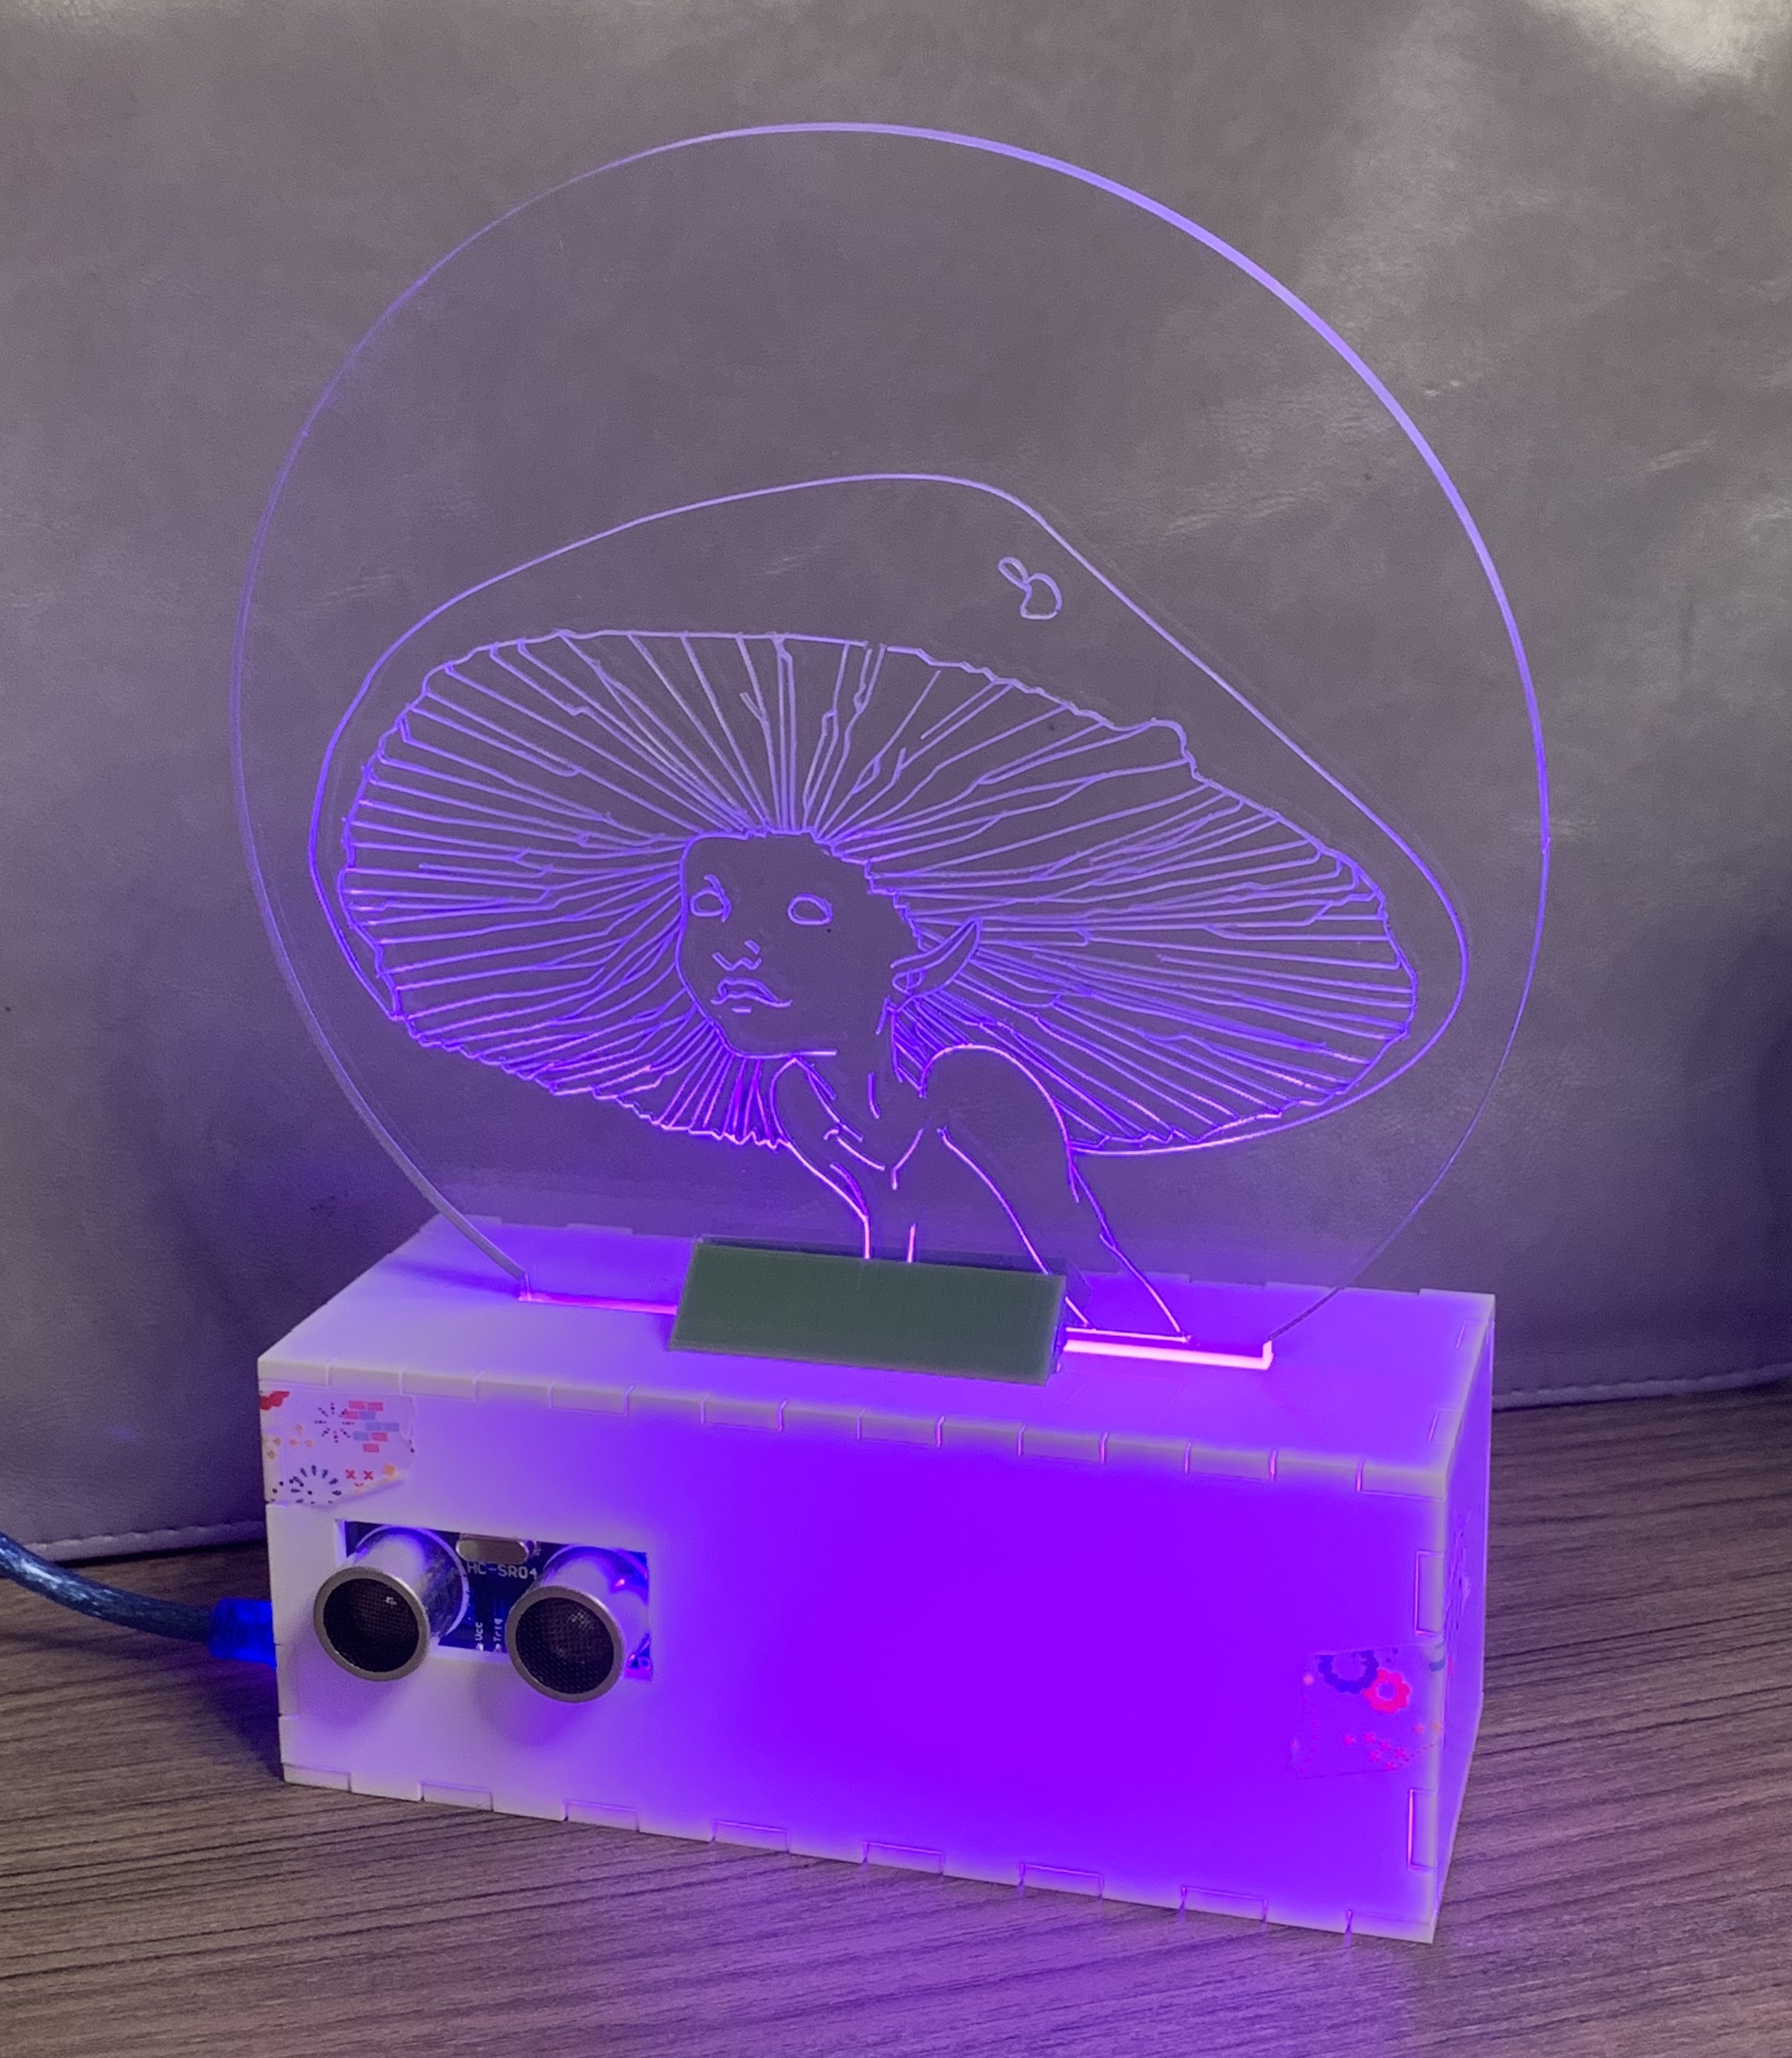
This is what the completed mood lamp looks like.
 |
|
This is my link to my 1 minute youtube video: https://youtu.be/z0GIRwhJl6E